EXPERT DIY: 10 TIPS FOR BECOMING YOUR OWN BIKE MECHANIC
As of late, whether it’s for cars, homes or bicycles, lots of new products have been delayed and production schedules are extremely delayed. For the cycling world specifically, this has left bike shops, as well as at-home mechanics, and the whole industry scrambling for even the smallest of spare parts.
This is why it’s become especially important to understand your bike, how it works and, most important of all, how to stay on top of preventative maintenance so that small repairs don’t turn into big repairs. This sort of preemptive and proactive DIY work can limit your bike’s downtime waiting on necessary parts.
KEEP IT CLEAN
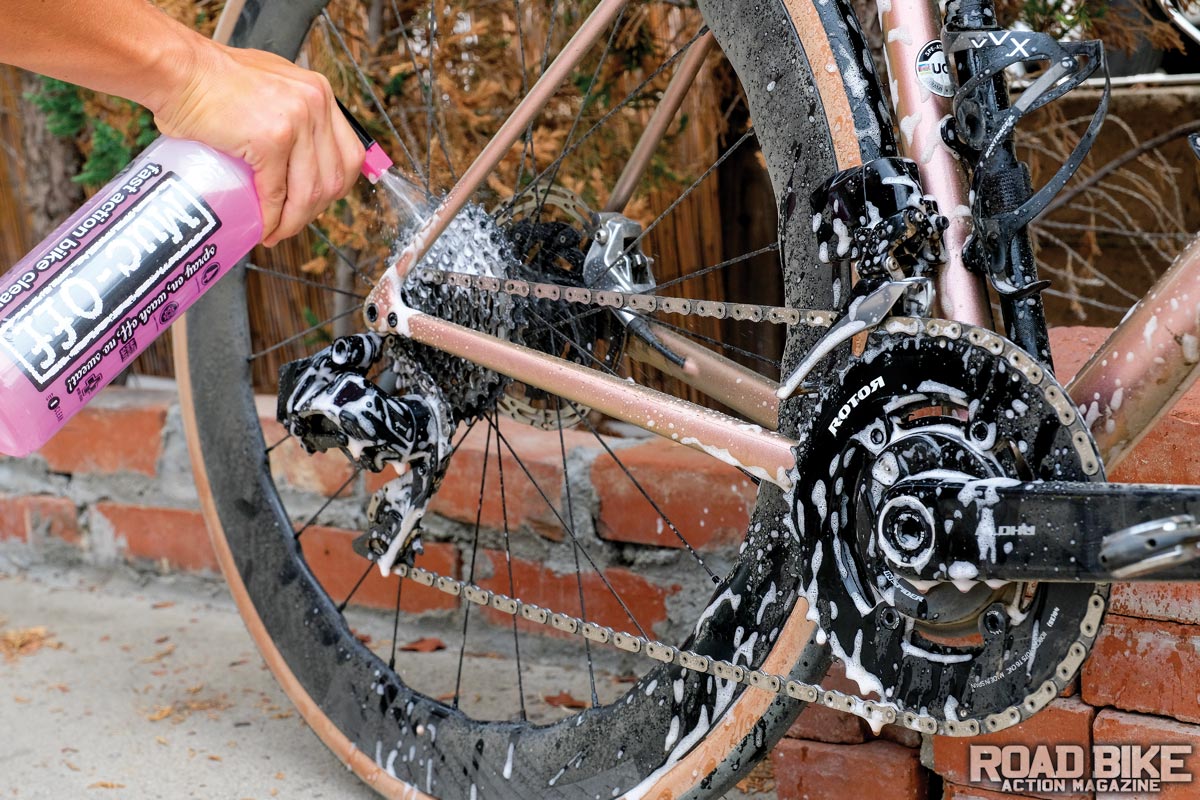
We have mentioned this a few times, too, but it’s always worth repeating—your chain is truly one of the most important parts of your bike. Keeping it well-maintained is essential to a well-performing shifting system. Chain lube is number one, but using too much can be bad, too. If your chain is wet to the touch, then it will likely pick up dirt, road grime and lead to expedited wear. If you clean your bike regularly, then the buildup is not likely, but a wet chain is not good.
Best practices would be to clean your bike about once a month with something like the Muc-Off Nano Tech spray. Make sure to scrub the chain and drivetrain with a stiff brush like the Park Tool GSC-3 or GSC-4. Never use high-pressure water, but rinse the whole bike off and maybe bounce the bike a few times to help get water out of the nooks and crannies.
Apply your favorite lube to the chain and keep rotating the crank backwards for a few rotations after you have applied the lube. This will help ensure it gets into the rollers and pins where it really matters. You can also run the chain through a rag to wipe away any excess lube.
Then, give the bike a few hours to let that soak in before your next ride. It is almost always a bad idea to lube your chain moments before a ride. Also, remember that there are loads of different types of lubes on the market. Some are good for wet conditions, and others are better when it’s dry. There are also lubes that require more frequent cleaning and applications, so make sure you choose one that fits your needs and area.
SLOW IT DOWN
Given that safety should always be a paramount concern, first and foremost to consider checking are your bike’s brakes, especially the brake pads. While the difference between old-school rim and modern disc brakes couldn’t be more obvious, they both share a common issue—worn brake pads.
It has baffled me how the transition to road disc has been tough on early adapters. It’s been frightening to see the number of riders who’ve run their pads down to the backing plate. This results in the need of a new rotor, pads and sometimes the entire caliper if repairs/replacements are left unattended for too long.
Recently, I was on a ride and one of the riders in the group had disc brakes that were making the most horrific high-pitched noise that would transition to grinding. I politely mentioned that he should address it ASAP, and he replied, “Really? I don’t hear anything.” Upon a quick inspection, it turned out that it was already too late, because the noise was the result of the alloy backplate grinding away on his rotor.
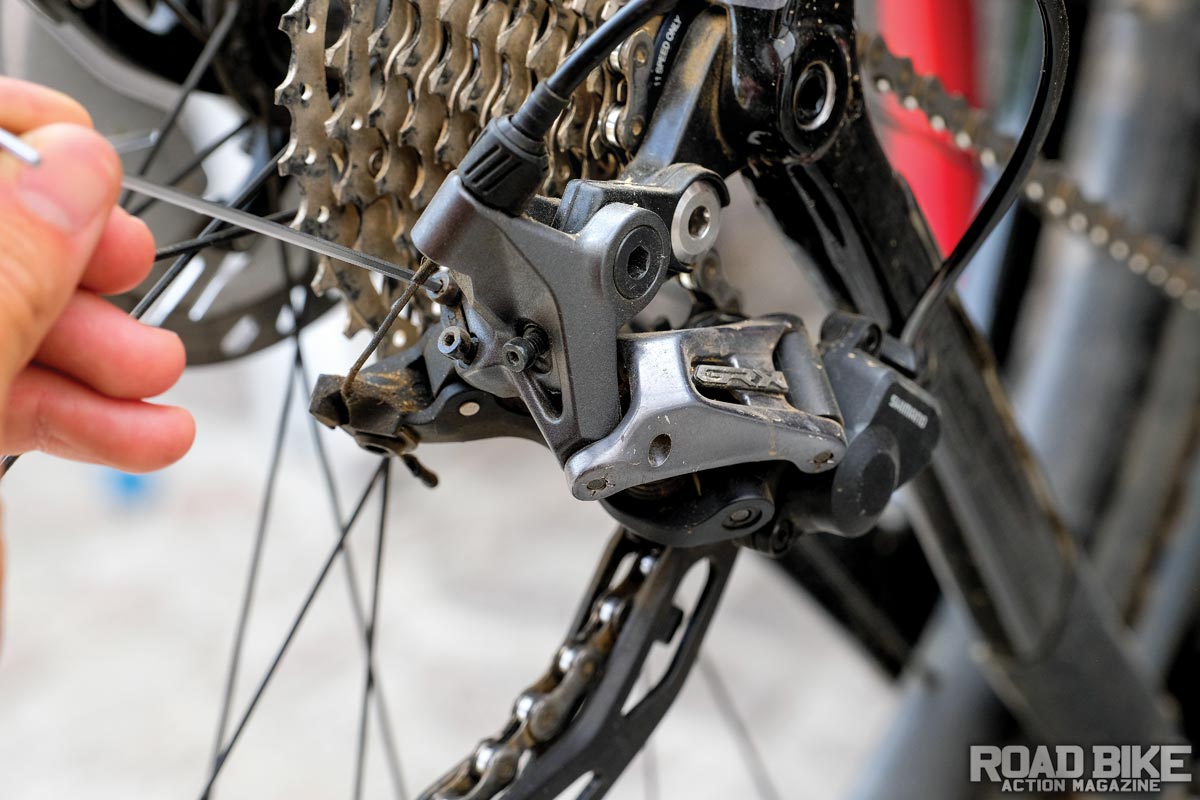
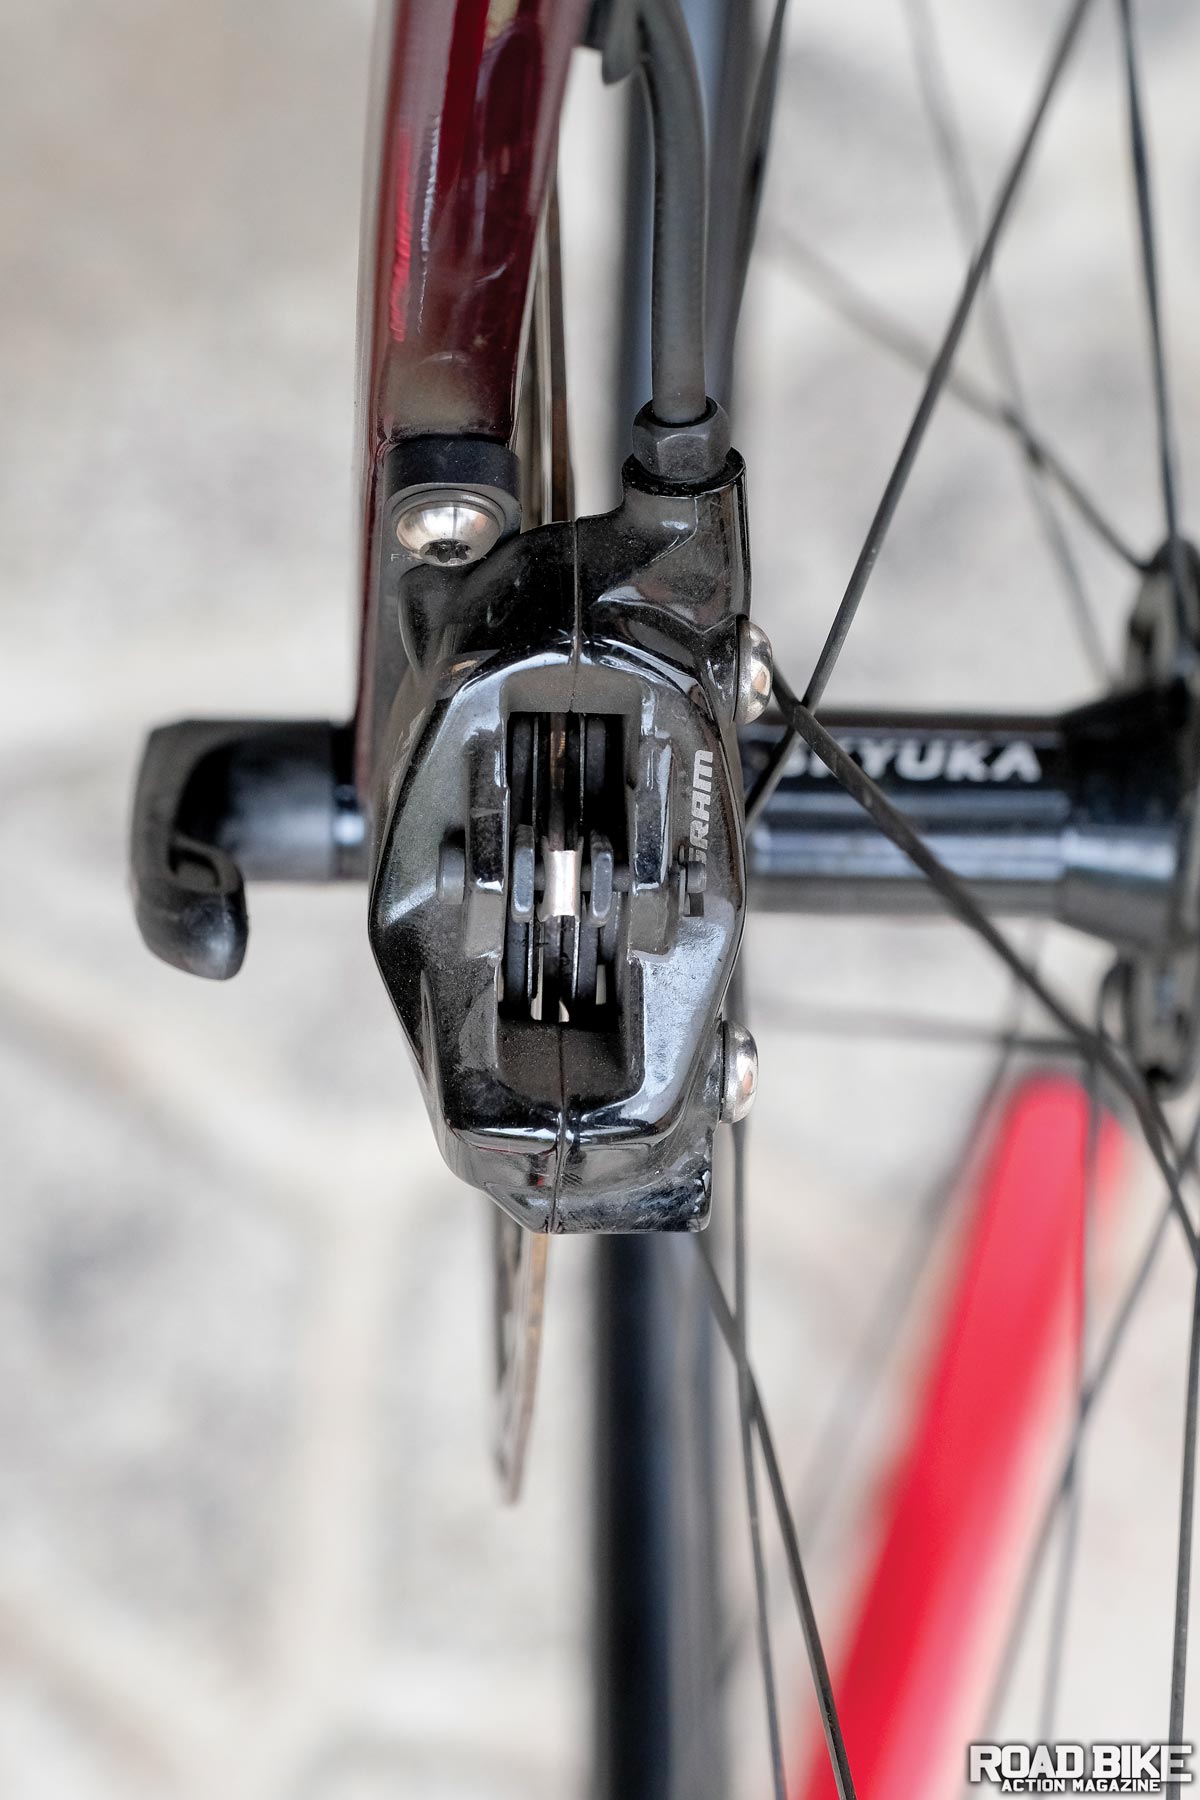
As we have stated in the past, there isn’t much material on a disc brake pad (nor is the wear as obvious as with a side-pull pad), so it can be hard for those new to the system to recognize that they are worn.
For us, the easiest indicator is the return spring. Shine a light into the caliper and look at the amount of material that extends past the metal return spring. Sometimes this can be easier to see if you remove the wheel. In some cases, the caliper may not have been perfectly straight and the pads wore unevenly. If the brake-pad material is flush with the spring, then it’s time to replace it.
Every system is a bit different by design, but typically best practices are to never actuate the brake lever when the pads and/ or rotor are not in place. When replacing pads, you may have to reset the caliper pistons (on hydraulic systems), and this is simply done with a non-marring tool, like a tire lever or the Park Tool PP-1.2. Pro tip: if all you have is a flathead screwdriver, leave the old pads in and leverage off of those to reset the pistons into the caliper. This way you are damaging the already worn pads and not the piston.
DON’T JUST START TURNING SCREWS
We all have that internal itch to do a derailleur adjustment when things seem a little off, but we must resist. First, remember that the small screws on any derailleur do not adjust the shifting tension, and they also don’t move on their own.
If your shifting was good and now it’s not, those small screws are not the reason, so leave them alone. In most cases, it is either a chain/cassette that needs cleaning, to be lubed or replaced. It can also be a misalignment—maybe you dropped your bike or leaned it against the derailleur. Last is a degrading cable or housing that is adding friction to the system. In any case, don’t start turning the small screws, it will lead to a much more complex setup.
“The small screws on any derailleur do not adjust the shifting tension, and they also don’t move on their own.”
If you have an electronic drivetrain, things are a bit easier to diagnose. Start with the battery. If the battery is low, the voltage can drop just a tiny bit and cause issues. If the system is wireless, there are batteries in the shifters that need to be changed, too. In most cases on an electronic system, the cause for mis-shifts can be a bent derailleur hanger.
It’s important to remember that derailleur hangers are not of a universal design, so it is very practical to have one specific for your bike as a backup in the garage. Another cause could simply be or an excessively worn drivetrain. Given that the systems are so precise and consistent, you might not feel the hesitations in shifting until they are beyond recovery.
If you have a mechanical drivetrain, start with small tension adjustments with quarter turns on the barrel adjuster. Keep count of how many turns you make in case you went the wrong direction (remember, normally counterclockwise turns adjust upshifts and clockwise turns adjust downshifts). If one or two quarter turns seem to fix it, then you likely just had a bit of stretch. If you do more than one full rotation, then there is an underlying issue, and you may need new housing, or a cable is starting to fray and could break soon.
Also, with many bikes going to internal routing, housing and cables get manipulated in very confined spaces that can cause excessive wear. Many times this can be a design problem, but something to consider when trying to get a regular maintenance schedule routine.
DON’T FORGET THE QUICK CHECK
Remember, just as every other consumer product category has evolved with new technology, bicycles, too are not what they once were. And while for some the moves to electronic and hydraulic systems have brought with them a disheartening level of modernization, bicycles remain one of the greatest simple pleasures in life.
And regardless of the bike you ride, or the frequency which you ride, taking the time for a quick pre-ride bike check is the best insurance to stay safe and avoid being left behind needing roadside assistance.
10 DIY CLIFFSNOTES
- Whether rim or disc, check your brake pads and have a spare set at home.
- Remember, a clean bike is not just a happy bike but, more important, a clean bike makes finding issues easier.
- Lube the chain every few rides.
- Chain lube is best applied after a ride, not before.
- Check for any signs of tire wear or sidewall damage. With tubeless, look for any signs of sealant seeping out (could be splattered on the bike).
- Give the bike a quick bounce and listen for anything loose or unfamiliar.
- Charge shifter batteries once a month or visually check cable housing for damage or weird bends.
- Remember, derailleurs don’t adjust themselves so resist the urge to turn screws.
- Tire pressure is drastically affected by air volume, so ensure you are running the appropriate pressure, no matter what you might have run in the past.
- New isn’t necessary, but having spare small parts can be a true time- and ride-saver.
COMPLETE ARCHIVE // ROAD BIKE TECH

Comments are closed.